Surface Texture
Coatings & Industry > Surface inspection

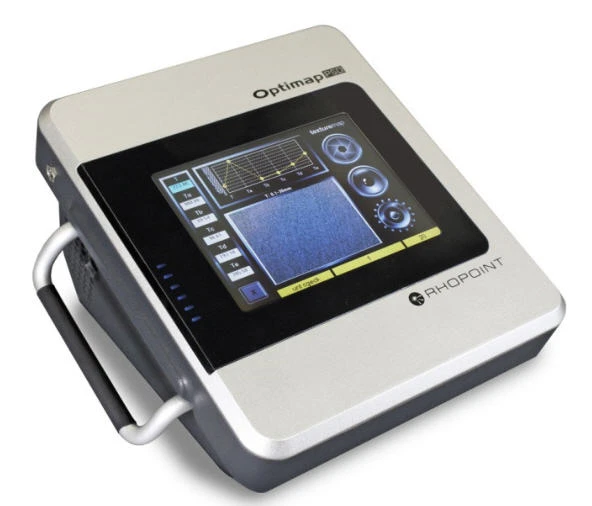
What is Optimap 2 PSD ?
- Maps, measures and quantifies surface appearance quality
- Objectively measures surface texture and waviness
- Displays images in traceable SI units (m-1) or in standard industrial scales
- Identifies and locates common surface defects
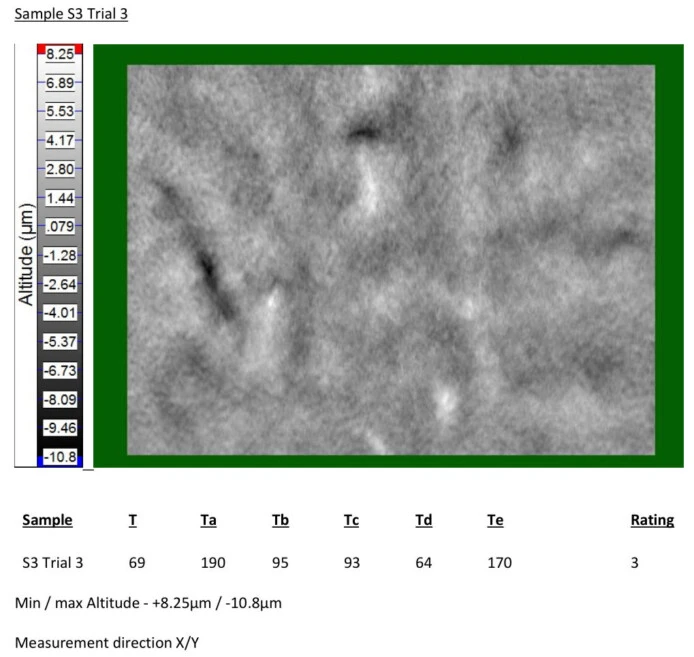
- Produces detailed full field 3D surface images
- Requires no movement over the surface
Surface Texture and Defect Analysis
Objective Appearance Measurement
For maximum consumer impact, high quality products require high quality finishes that are homogeneous, blemish and defect free. Surface finish is currently assessed subjectively by visual inspection or measured by instruments that do not capture a full picture of surface quality.
The Optimap™ is the first portable instrument to map and measure surface texture
Using an advanced measuring technique known as Phase Stepped Deflectometry (PSD) the Optimap™ is capable of making fast, objective, full field measurements over large areas requiring no movement over the surface.
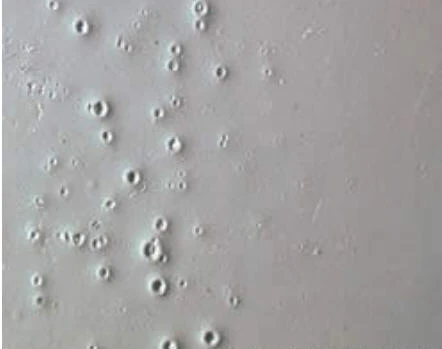
Surface texture is used to quantify visible faults such as orange peel, waviness and DOI problems. It can also be used to identify local faults such as:
- orange peel
- inclusions
- blistering
- overspray
- sagging
In a single fast operation the Optimap™ maps the topography of a test surface displaying faults and texture in incredible detail. Mapped information is processed into objective surface measurements that can be used to effectively control product quality. product can be compared to the Wavescan DOI.
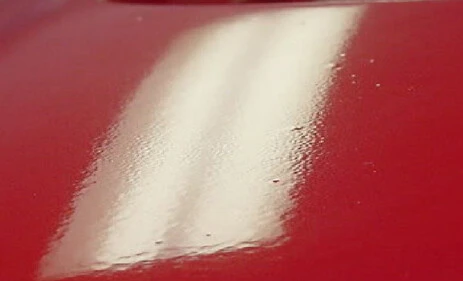
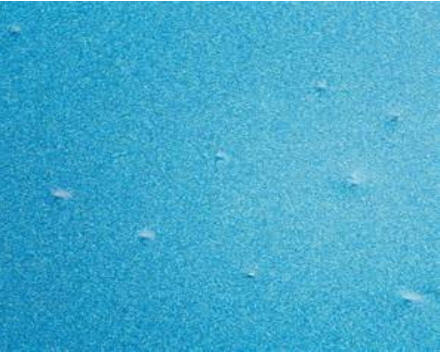
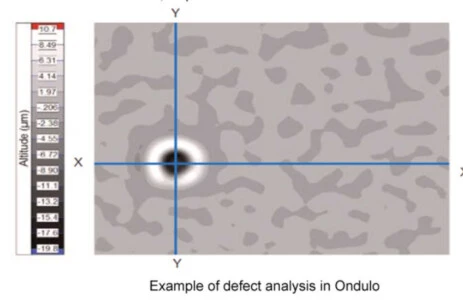
The pattern acts like a ruler across the surface allowing each point (X, Y, Z) to be mapped.
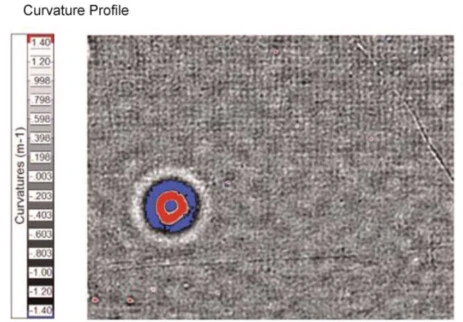
By phase stepping the pattern across the surface in both directions each point on the surface is spatially modelled, to accurately calculate the curvature at each point.
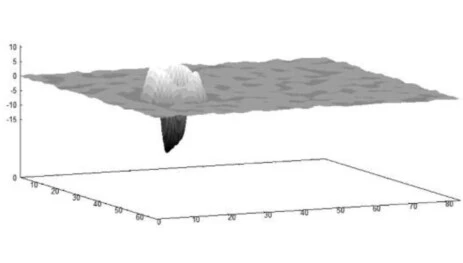
Advanced Measurement technology
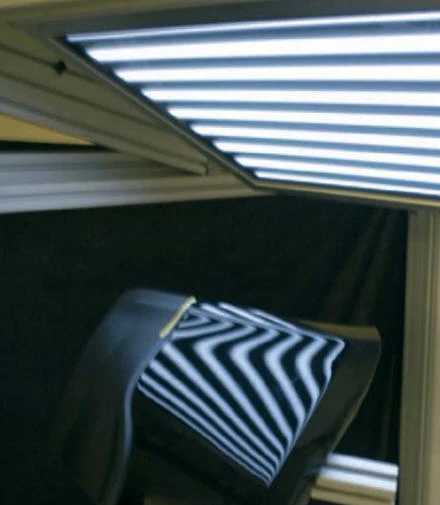
The Optimap2 uses Phase Stepped Deflectometry (PSD), an advanced measurement technique that uses a periodic pattern of white light with a sinusoidal waveform to measure the profile of a surface.
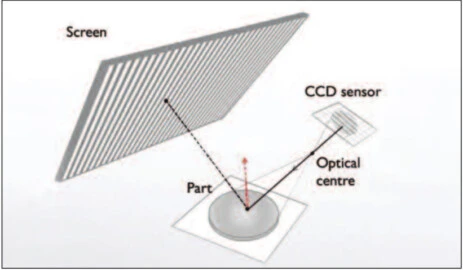
The waveform is presented to the surface using a high resolution display and the reflected pattern captured by a high resolution camera.
The sinusoidal waveform acts like a ruler on the surface allowing the X, Y and Z ordinates to be mapped as they are proportional to the spatial phase of the reflected sinusoidal pattern profile.
Shifuing or “stepping” the waveform phase allows an accurate measurement of each point across the surface through the corresponding point per pixel on the camera. Using the geometric relationship between the display, surface and camera, reflected light rays are spatially modelled to calculate the direction of the normal at each point of the surface thereby allowing the profile at that point to be obtained.
By using the sinusoidal pattern profile orthogonally across the surface, multi-dimensional slope and curvature data is obtained. By differentiating this data the curvature field can be calculated allowing an accurate characterisation of surface quality.
This curvature field has a high sensitivity to local altitude variations caused by defects.
Unlike other instruments the Optimap2 requires no movement over the surface as all measurements are performed optically using PSD thereby preventing any damage during operation.

Ondulo Reader Software:
Rhopoint Ondulo reader software features advanced data analysis and reporting.
•Surface effects such as texture, flatness, number, size and shape of local defects can be identified, mapped and quantified
- Drag and drop feature allows images and dat to be easily transferred to Microsoft Word for reporting.
- Flexible screen view feature allows the display of result maps in single, dual or 3D format.
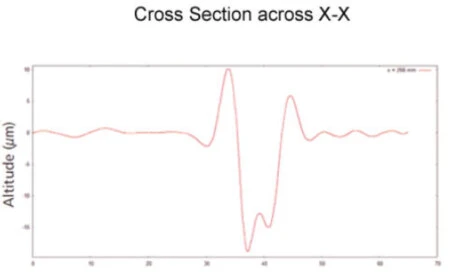
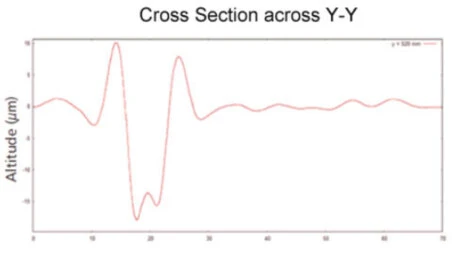
- 3D view allows full rotation of surface and X/Y corss sectional views.
- Dual view allows comparison of saved result maps.
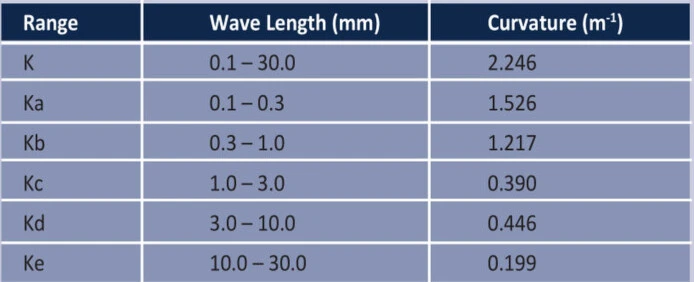
- Scaling dimensioned in either curvature (m-1) or µm.
- Profiles of curvature, slope or altitude can be characterised.
Instrument Specifications 1
Display : 6.5 inch Colour VGA TFT Touch Screen
Camera : 1.3 Megapixels, image resolution 1296 x 966
Measurement : 79mm x 57mm
Lateral Resolution : 75µm
Data storage : 200 readings
Memory : 6GB compact flash
Data transfer : PC compatible
USB connection
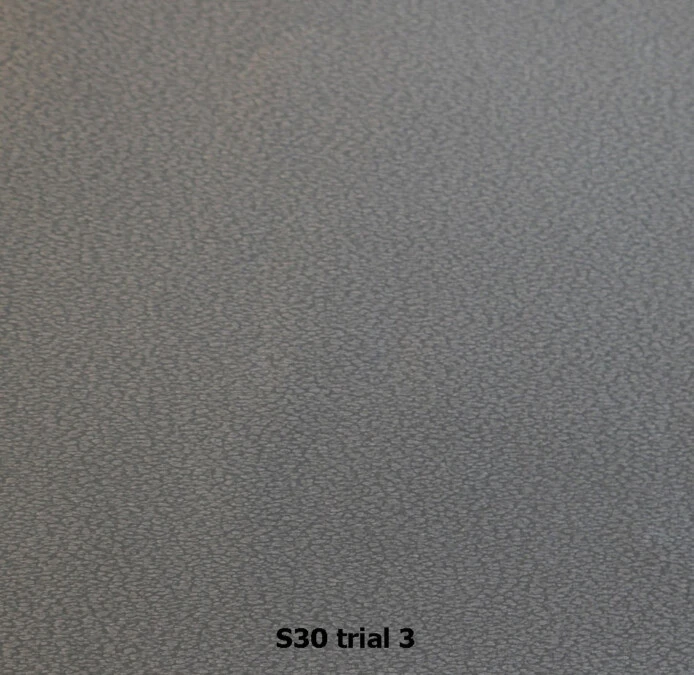
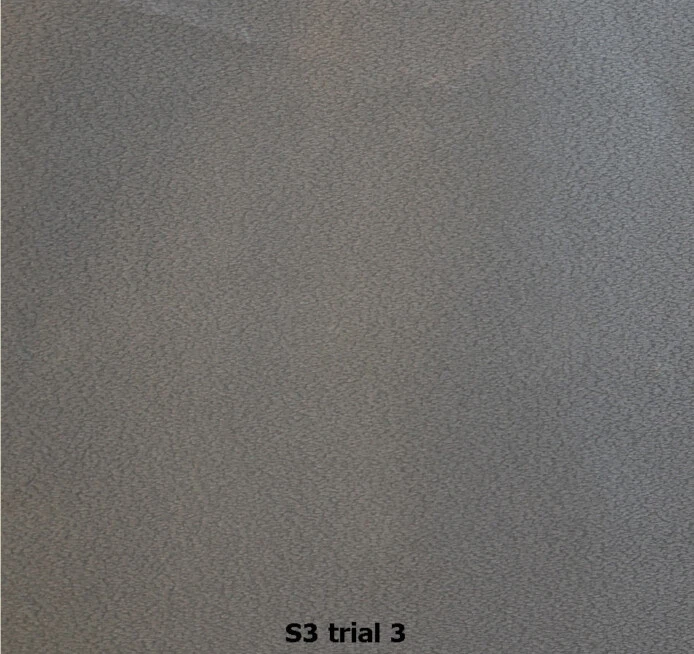
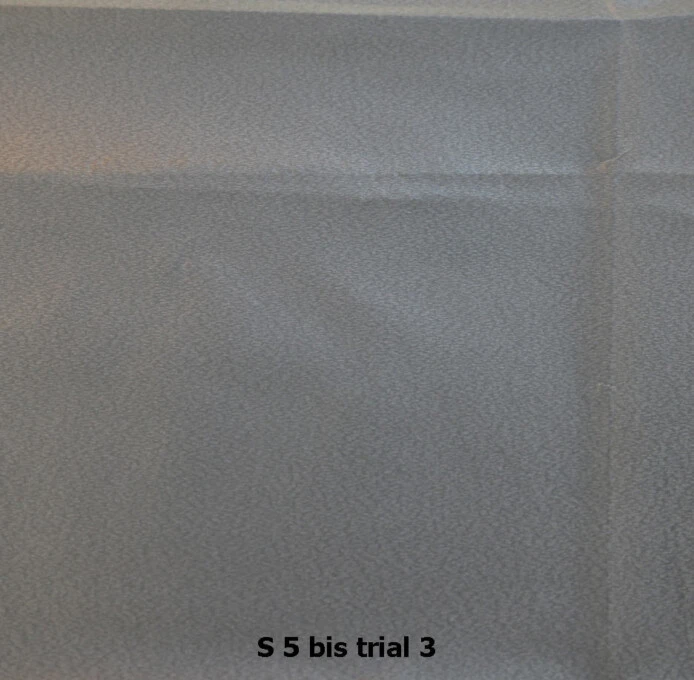
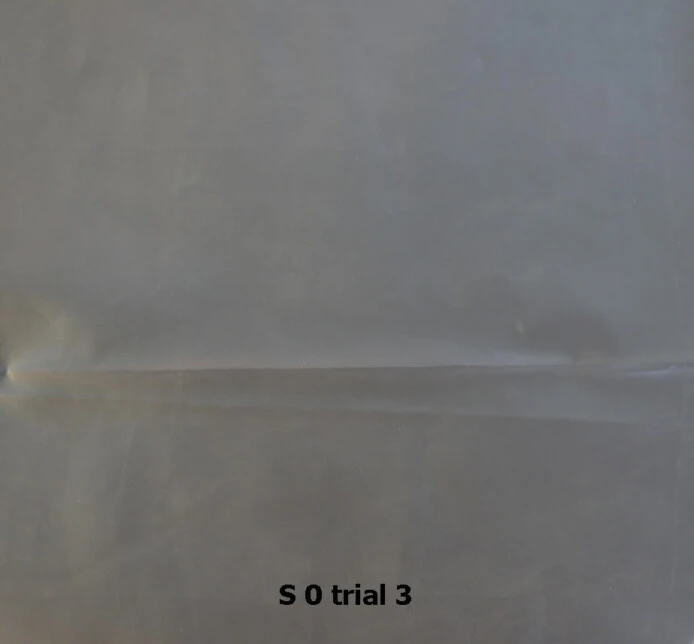
The objective is to characterize and differentiate differents films productions between 40 and 100 microns, samples from an advanced packaging solutions provider.
