Destructive 1
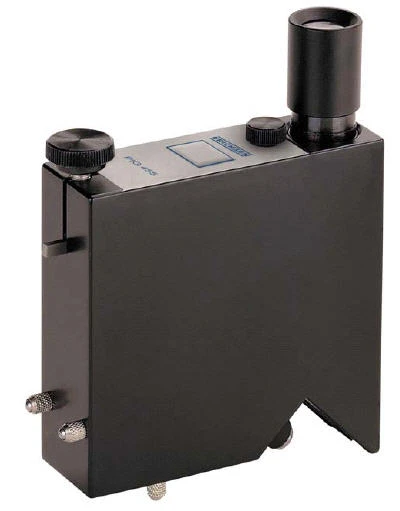
Paint Inspection Gauge P.I.G. 455
A successful instrument using the standardised wedge cut method.
Indispensable for film thickness measurement on any substrate. In the case of multi layer coatings complete and individual layer thikkness can be measured.
with:
normal tip no. 6 (for layer thickness of up to 200 µm)
leather carrying case
marking pen
In accordance with :
DIN 50986
DIN EN ISO 2808
ASTM D 4138
AS 1580 Meth. 408.1
Accessories :
Special tip no. 1 for layer thickness up to 2000 µm.
Special tip no. 4 for layer thickness up to 1000 µm.
Special tip no. 5 for layer thickness up to 500 µm.
Normal tip no. 6 for layer thickness up to 200 µm.

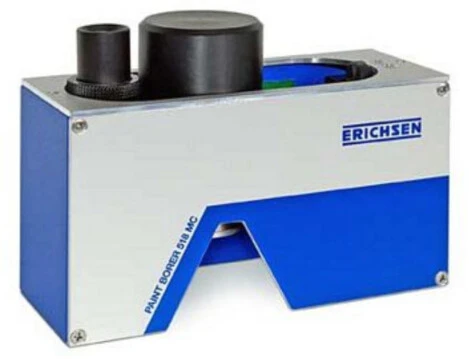
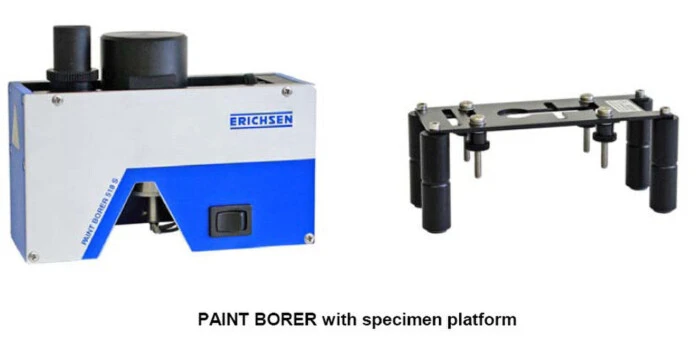
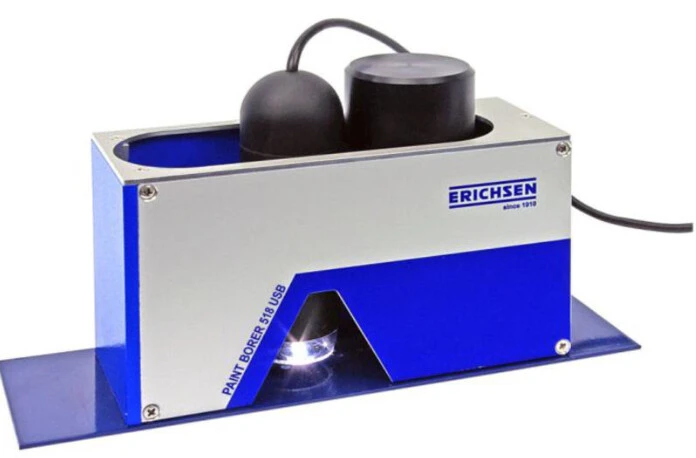
Thickness Gauge PAINT BORER 518 MC
for measuring the thickness of organic coatings on all base materials using the wedge cut principle, with microscope to be turned and moved sideways for measurements on ellipsoidal holes on lightly curved surfaces.
Included in the scope of supply:
Drill type 5 for layer thicknesses from 3 up to 300 microns (resolution 3 microns)
felt tip pen
screw driver
rechargeable battery (9 volt)
charging unit
- NF T 30-123
- DIN 50986
- ISO 2808
- ASTM D 5796
- ASTM D 4138
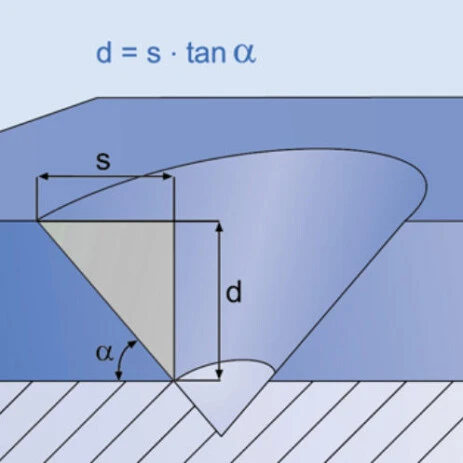
Drill 2 : of carbide steel with dual cutting edge geometry for coating thicknesses up to 200 microns (resolution 2 microns).
Drill 4 : of carbide steel with single cutting edge geometry for film thicknesses up to 500 microns (resolution 5 microns).
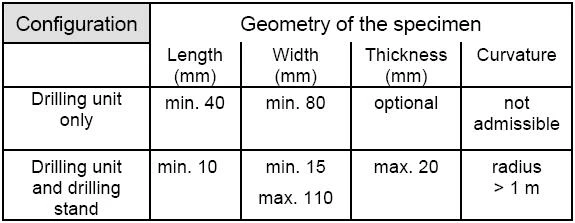
Specimen Platform : for clamping specimen panels of any shape or profile (min. specimen dimensions 6 x 10 mm, max. width of specimen 73 mm)
Drill 5 : of carbide steel with dual cutting edge geometry for coating thicknesses from 3 up to 300 microns (resolution 3 microns).
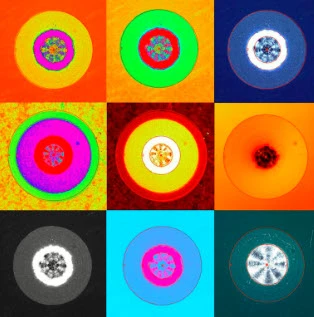
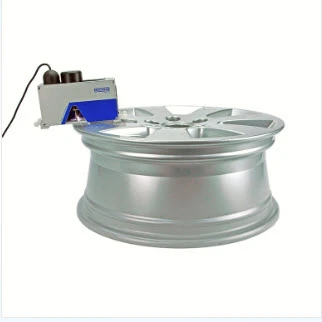
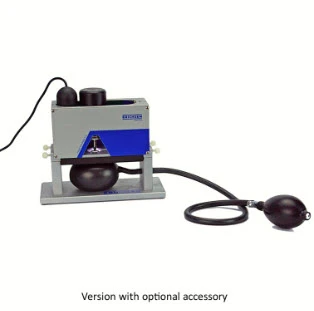
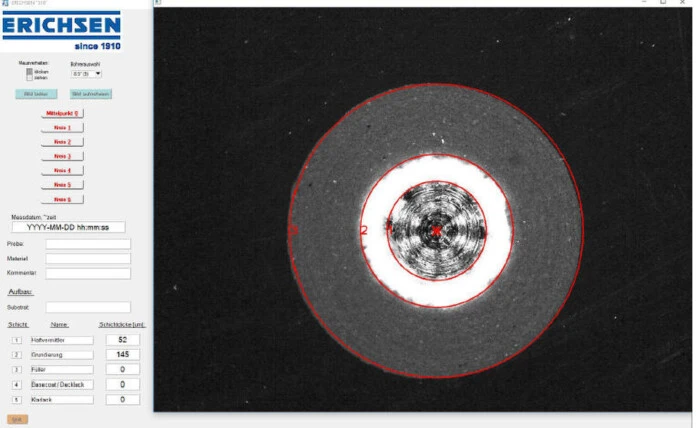
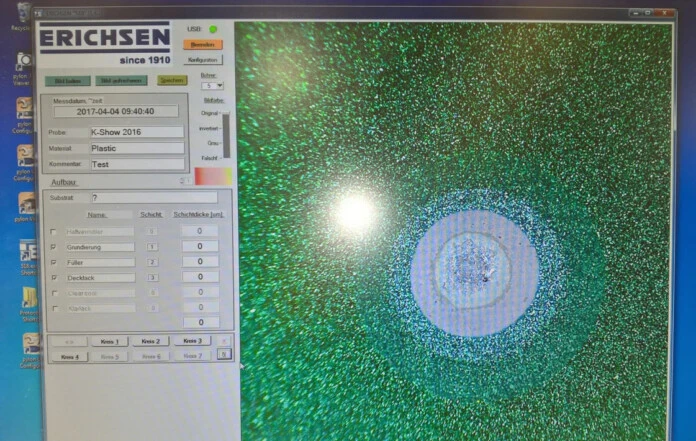
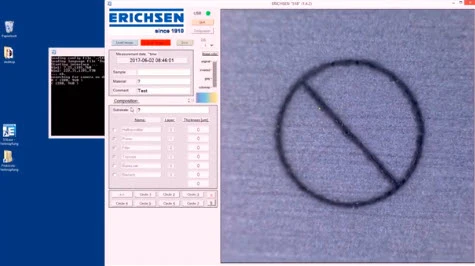
Thickness Gauge PAINTXPLORER 548
Tabletop instrument for measuring the thickness of organic coatings on all base materials using the wedge cut principle, with microscope to be turned and moved sideways for measurements on ellipsoidal holes on lightly curved surfaces.
In accordance with :
NF T 30-123
DIN 50986
ISO 2808
ASTM D 4138
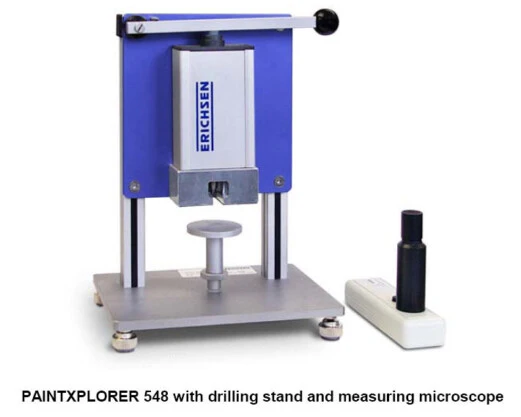
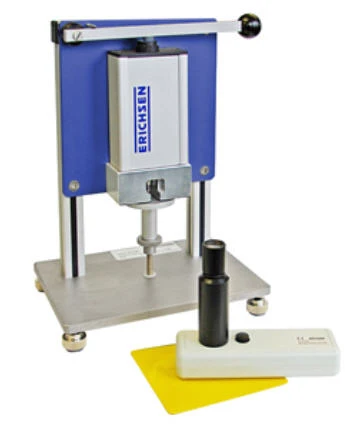
Included in the scope of supply:
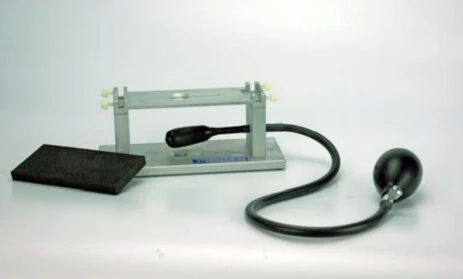
Drilling stand with fixed specimen clamping for clamping small specimens and profile
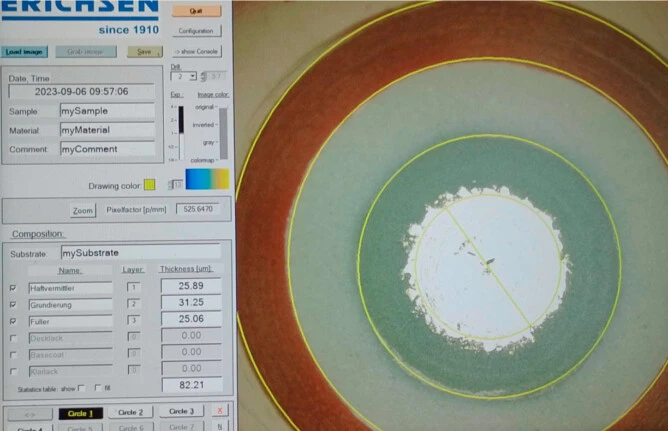
drill 5 for film thicknesses from 3 up to 300 microns (resolution 3 microns.)
2 felt pins (black/silver)
screw driver
tool for change of drills
power pack (100 - 240 VAC, 47 - 63 Hz)
plastic case.
Optional accesory :
