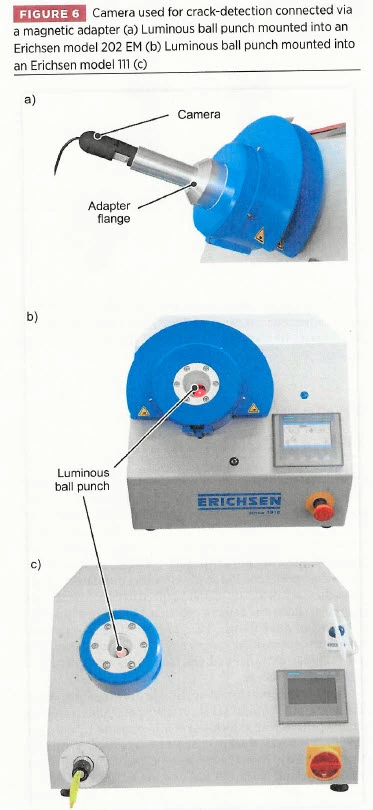
Crack Detection
Coatings & Industry > Mechanical properties > Flexibility and toughness

Transmission-llluminationn-Based Crack Detection Method
Daniel Staupendahl, Jan-Luca Schneider, and Ludger Wahlers Erichsen GmbH & Co. KG
Thin-walled metallic sheets and foils are increasingly gaining in importance in the automotive industry and in medical and food packaging.
A promising field of application for thin stainless steel sheets in the thickness range between 0.05 and 0.1 mm are PEM fuel.
Said material can be used to produce lightweight metallic bipolar plates by deep drawing, rolling, or hydroforming .
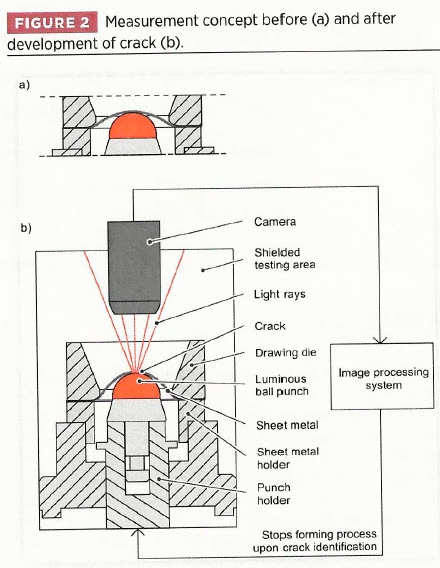
The most critical failure mode in sheet metal forming is the occurrence of a crack or fracture. In order to describe the formability of the material, which is nceded in manufacturing to define specific process windows, the development of the crack during the forming process as well as the strains reached during crack initiation are used. In the Erichsen cupping test according to DIN EN ISO 20482 the crack detection is either performed through visual inspection by the machine operator during the running process or automatically by a crack detection system.
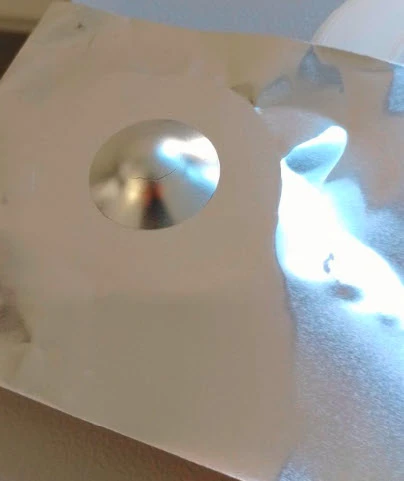
Since the manual visual inspection is highly operator dependent, crack sizes and the resulting dome height values for the same material batch can vary greatly from user to user as seen in Figure 1.
Thus, in sheet metal testing, the use of a crack detection system is generally preferred.
Crack detected by user A (a), crack detected by
user B (b), and crack detected by user C (c).
Material: 1.4404
stainless steel with a wall thickness of 0.09 mm

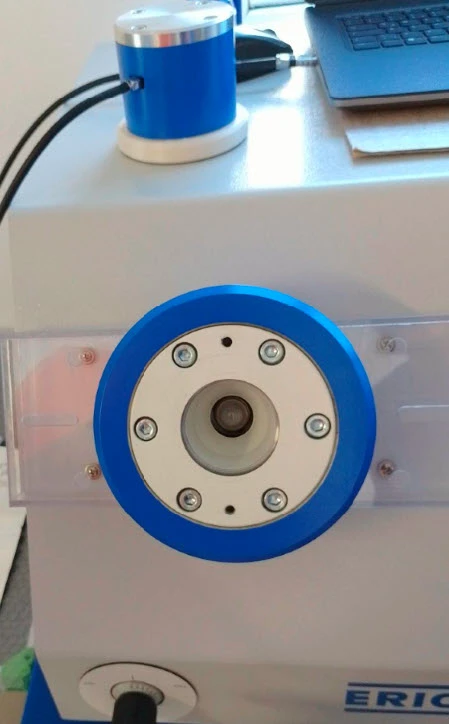
The Model 202 EM testing machine was used for these tests.
As in the preinvestigations, tallow was used as lubricant and applied in a thin film, which does not obstruct the crack identification.
figures 7 and 8 show the cupping value results.
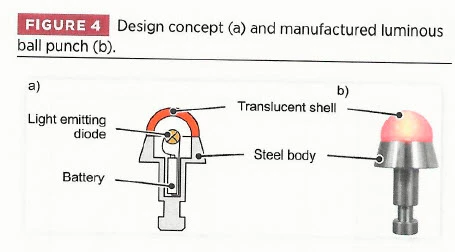
The manual visual crack identification was performed both with a conventional tool made from hardened and hard chrome plated steel and with the unlit alumina-based ceramics ball punch.
For DC06, 4 samples were tested in each of the three test setups.
For Aluminum 99.9, 10 samples were tested per test setup.
The comparison of the manual results for the conventional tool and the alumina-based show very similar average cupping values and similar scattering.
This speaks for a similar surface quality of the punches and for a similar tribological system in combination with the lubricant. It can be concluded that cupping results gained by forming with the translucent alurnina-based cerarnics punch can be directly compared to results gained by forming with conventional tools.
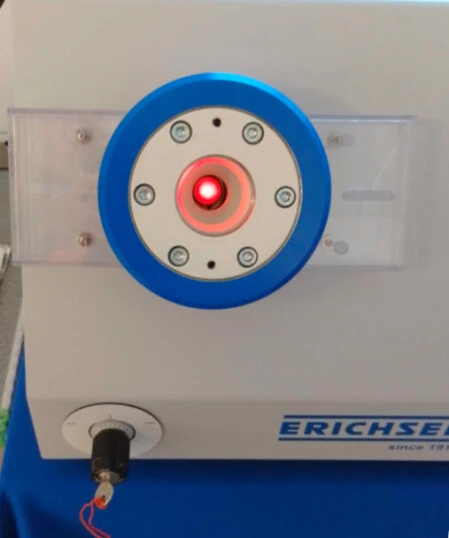
Now, interesting is the use of the luminous translucent ball punch in combination with the new automatic crack detection system.
For DC06, the average cupping value did not change significantly compared to the manual tests.
However, the scattering is far less - 75-80%.
For Aluminum 99.9, the average cupping value is about 0.15 mm lower than the values of the manual tests.
This can be explained by the extremely small throughthickness cracks that are very diflicult to detect manually.
Here, the automatic detection system can play out its full potential.
Additionally, the scatlering is lower - about 50%, which is comparable to the results produced in the pre-investigations.
