Gloss
Coatings & Industry > In-Line Measurement

507 ON-LINE
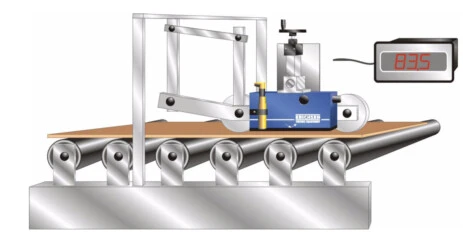
ON-LINE Gloss Measurement
• Gloss is one of the prime quality factors when assessing products. It should be the foremost tasks of modern processing to manufacture a product within specified tolerances.
• The ON-LINE gloss measurement contributes significantly towards raising the quality standard and lowering costs in the production of high-quality surfaces.
• The ON-LINE Gloss Measuring System enables the gloss characteristics of products to be measured and evaluated - during the production process..
• The reproducible technique of the ON-LINE Gloss Measuring System ensures objective gloss control in conformance with the relevant standards.
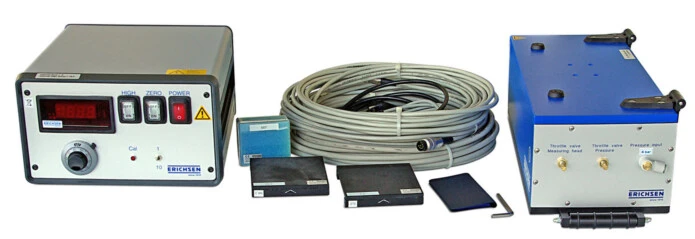
Scope of Supply
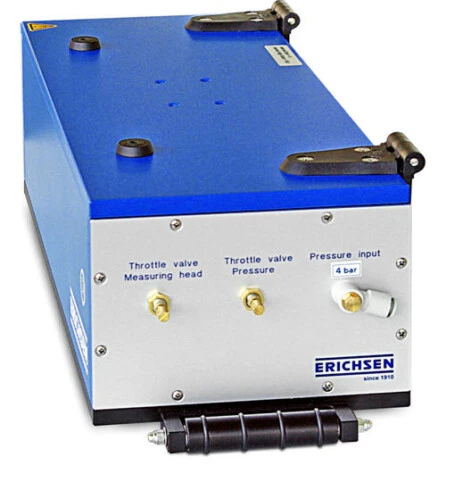
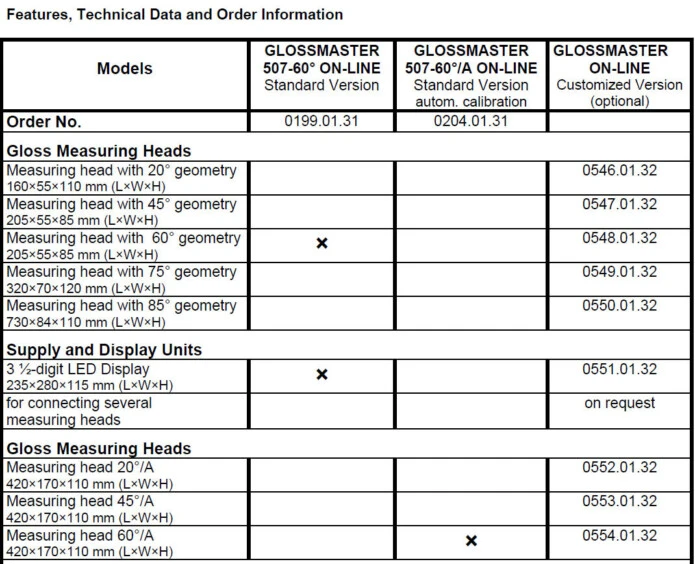
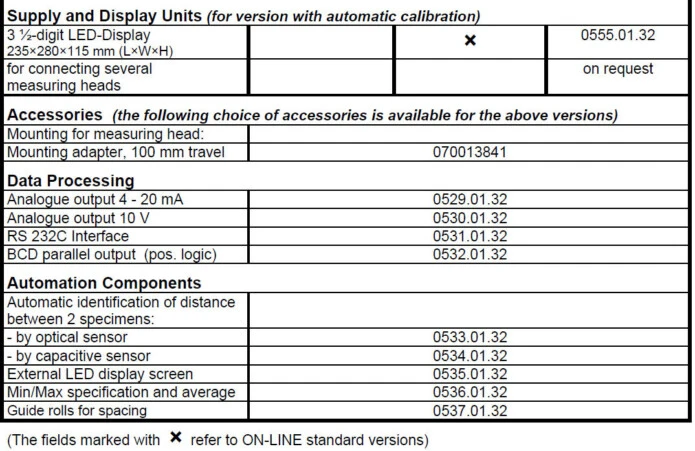
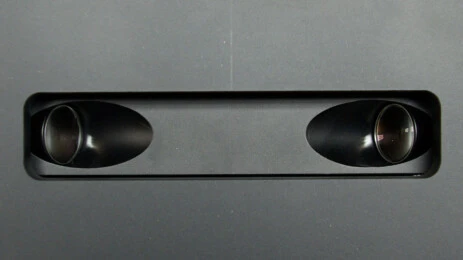
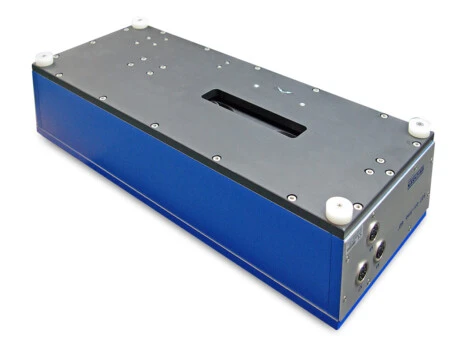
- Online measuring head with 20°, 45°,75, 60° or 85° standard geometry with or without automatic calibration (customer 's choice) ; integrated zero and high-gloss standards for internal calibration, pressure nozzles to prevent contamination (required compressed air connection 4 bar).
Connecting cable to power supply unit 1.5 m (or up to 10 m on request); illuminant type A, 10-channel potentiometer for calibration.
Distance between measuring head and specimen (strip): 10 mm (standard) ± 0.2 mm.
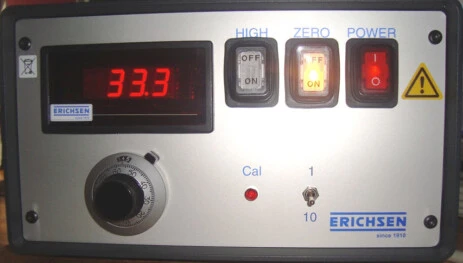
- Supply and display unit with 3 ½-digit LED.
Measuring range: 0 - 199.9 gloss units.
- Calibrating standards: high gloss (A), zero (C)
- Service kit (replacement lamp, spare fuse, microfiber cloth, adjusting screw driver)
