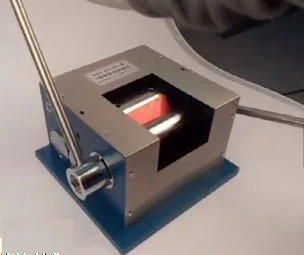
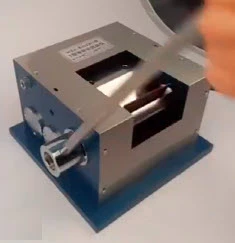
T-Bend Tester is designed to evaluate the flexibility and adhesion of an organic coating on a metallic substrate by observing the cracking or loss of adhesion when a coated test panel is bent.
This method can be used to confirm whether paints, varnishes or related products meet a given test requirement in a pass/fail test, or to determine the minimum bending diameter at which cracking does not occur.
This instrument complies with the ISO17132 and the ASTM D4145.
Manual bending machine / bend tester machine equipment test
Scope of application:
Film flexibility is a measure of paint one of the important indicators of the new varieties of paint formulations of screening applications have great reference value.
The Bending Tester is a new model for testing the flexibility of coatings.
It is suitable for testing the T-Bending Tester of coated steel sheets and strips, as well as T-Bending Test instrument.
Manual bending machine / bend tester machine equipment test
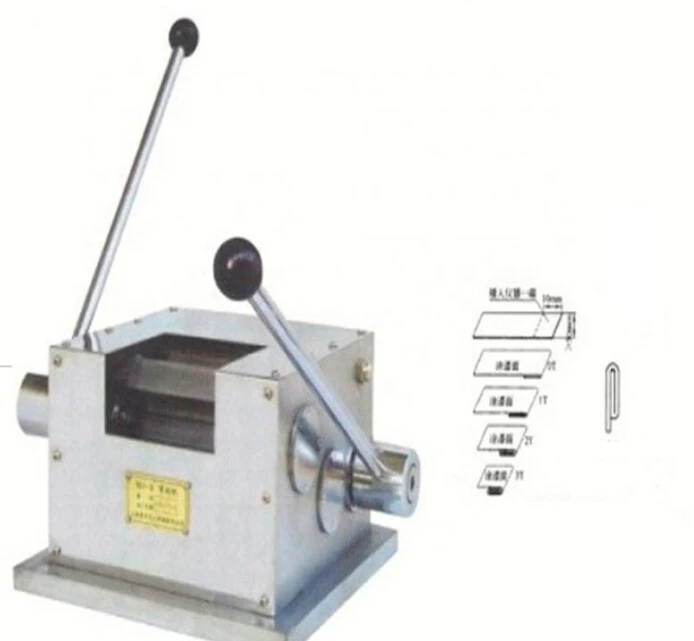
The main structure:
Floor and left and right side panels.
Gear and crank lift mechanism.
Triangle bent Yaping fast.
Square rotation split pieces.
Guard and handle and other components.
The T-Bend tester bends samples fixed to the sample holder up to 180°, with the coated side on the outside, and allows T0, T1, T2, and T3 bend tests to be performed.
After the test, attach an adhesive with known adhesion properties and remove it quickly. Depending on the adhesion of your coating, you may see cracks or paint chips, which will give you information about the performance of your coating.
A number of factors influence the test: the composition of the coating, the baking parameters, the thickness of the coating, and the environmental conditions (temperature and humidity).
Maximum sample thickness:
- steel 1 mm
- aluminum 2 mm
Maximum width: 100 mm
Experimental results to determine:
After bending, each panel is examined :
- with a magnifying glass for cracking of the coating
- and by a tape pull-off test for loss of adhesion of the coating.
The minimum diameter to which the test panel can be bent without cracking or loss of adhesion,i.e.when failures on longer occur, is taken as the T-bendrating.
Use Scotch tape (≥0.25N / mm) against the curved surface of the test, flatten the tape with your fingers, and then peel it off in the direction perpendicular to the coating surface to check if the coating is peeled off or peeled off Determine the flexibility of the coating.
Caution:
1. When the specimen is bent at IT, there should not be any obvious gap at the bending surface.
2. Coating damage within 10mm from the edge is not taken into account.
3. In order to facilitate the transport, the test machine out of the company, the two handles are not installed on the host.
After the user devanning, with the wrench will be installed on the host two handles the appropriate position, and be careful to tighten.
It conforms with DIN EN ISO 17132, ASTM D 4145, EN-13523-7 (Paints and varnishes – T-bend test).
Standards :
ISO 17132:2007 describes a method of evaluating the flexibility and adhesion of an organic coating on a metallic substrate by observing the cracking or loss of adhesion when a coated test panel is bent.
The method can be used to confirm whether paints, varnishes or related products meet a given test requirement in a pass/fail test, or to determine the minimum bending diameter at which cracking does not occur.
Manual bending machine / bend tester machine equipment test
Main Specifications:
One bend angle <45 °
Flatten the body stroke: ≥ 10mm
Test sample plate (steel, aluminum) Thickness: 0.5 ~ 1.0mm
Pressure plate (steel, aluminum) width: ≤ 100mm
Max. thickness for sample: 1.0mm (steel panel);
2.0 mm(aluminum panel)
Width of panel: <100mm
Weight: 50kg
Size: 300×300×190mm (length by width by height)
Ref. 298-BGD-568
Manual bending machine / bend tester machine equipment test
Working principle:
Through the rotation of the left handle, the square bending buckle bending pieces parallel to the shape of <45 ° angle: turn the right handle, driven by the crank lift mechanism so that the triangle bending fast rise or fall, the specimen clamping or pressure Flat, form a T-bend.


